Author: saad caffeine

  • Hestrin-Schramm Medium for Bacterial Cellulose Production


    Recipe Yield: 1 Liter
    Target pH: 5.0 – 6.0
    Culture Method: Static (no shaking)

    Ingredients

    Primary Components
    • 20g Glucose (table sugar can substitute)
    • 5g Yeast Extract (nutritional yeast flakes work)
    • 5g Peptone (unflavored gelatin powder as substitute)
    • 2.7g Disodium Phosphate (Na₂HPO₄ – pool/cleaning supply grade)
    • 1.15g Citric Acid (canning/baking section)
    Optional (for solid medium)
    • 15g Agar (unflavored gelatin as substitute)


    Additional Supplies Needed

    • 1L distilled water
    • White vinegar (for pH adjustment)
    • Baking soda (if pH too low)

    Equipment Required

    • • Large measuring beaker (1L capacity or larger)
    • • Digital scale (0.1g precision minimum)
    • • Stirring rod or large spoon
    • • pH test strips or digital pH meter
    • • Pressure cooker or autoclave
    • • Culture vessels (wide-mouth jars work well)
    • • Heat source for dissolving agar (if using)

    Step-by-Step Instructions


    Step 1: Prepare Base Solution
    • Measure 900ml of distilled water into your large beaker
    • Add the following ingredients in order, stirring after each addition:
    • 20g glucose (stir until completely dissolved)
    • 5g yeast extract (may take a few minutes to dissolve)
    • 5g peptone (stir thoroughly)
    • 2.7g disodium phosphate (dissolve completely)
    • 1.15g citric acid (should dissolve quickly)

    Step 2: Check and Adjust pH
    • Test the pH using strips or digital meter
    • Target range is 5.0 to 6.0
    • If pH is too high (above 6.0): Add white vinegar drop by drop, testing after each addition
    • If pH is too low (below 5.0): Add dilute baking soda solution very carefully
    • Record final pH for your notes

    Step 3: Add Agar (Optional – Skip for Liquid Medium)
    • For solid medium only: Add 15g agar to the solution
    • Heat the mixture while stirring continuously
    • Keep heating and stirring until agar is completely dissolved (solution should be clear)
    • For liquid medium: Skip this step entirely

    Step 4: Adjust Final Volume
    • Add distilled water gradually to reach exactly 1L total volume
    • Mix thoroughly to ensure even distribution
    • Double-check that all components are fully dissolved

    Step 5: Sterilize the Medium
    • Pressure cooker method: Cook at 15 PSI for 15 minutes
    • Autoclave method: Sterilize at 121°C for 15 minutes
    • Important: Allow to cool to room temperature before proceeding
    • Do not skip sterilization – contamination will ruin your cellulose culture

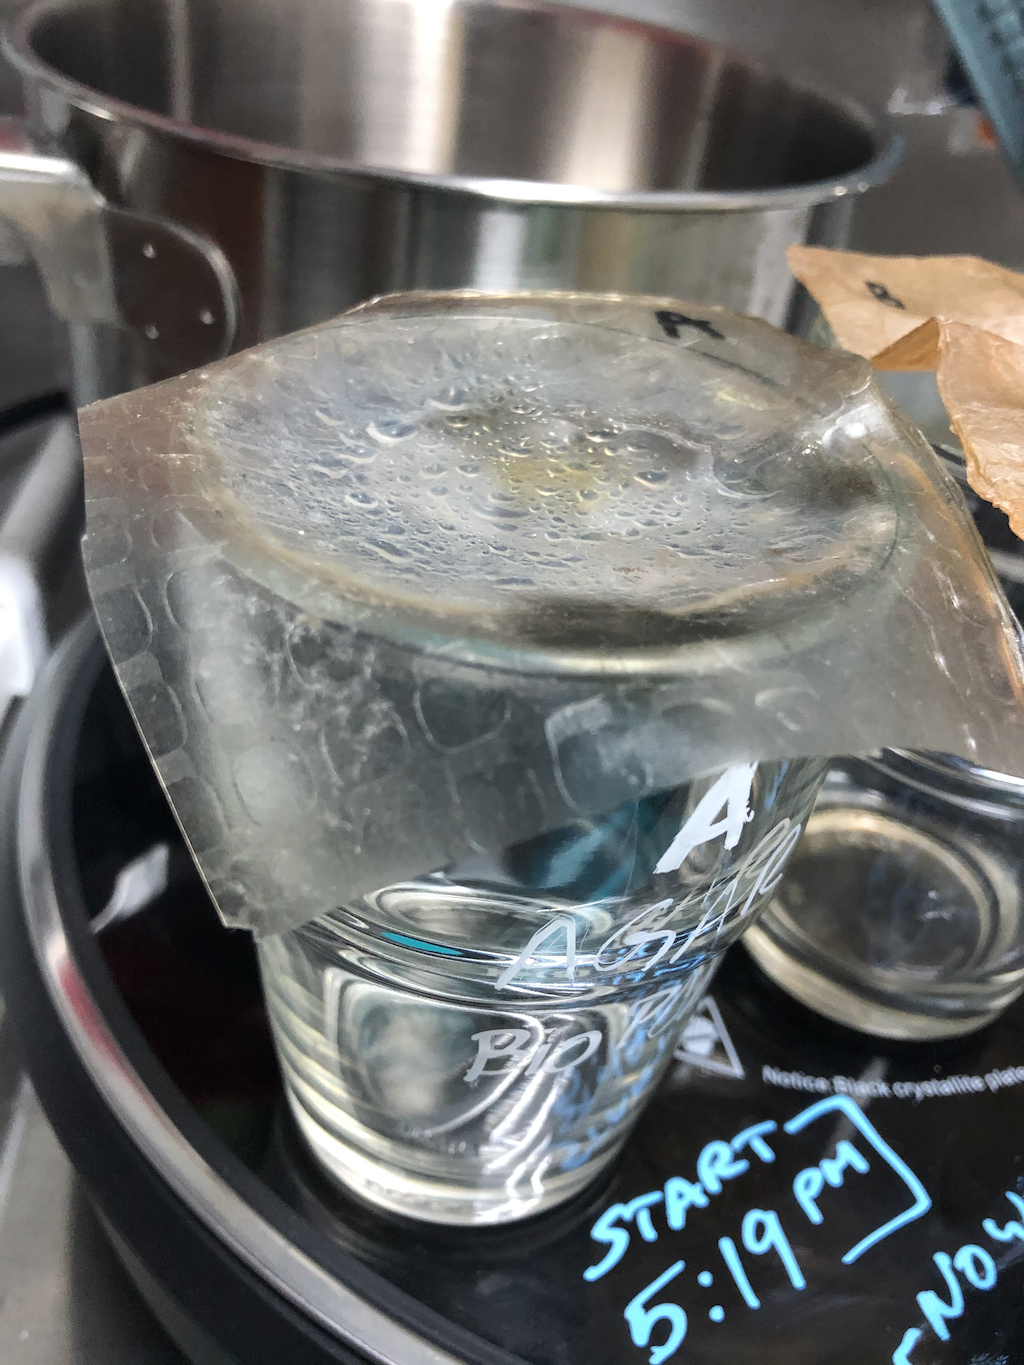
    Step 6: Inoculate and Incubate
    • Under sterile conditions, add your Acetobacter culture to the cooled medium
    • Critical: Place containers in a location where they will not be disturbed
    • Do not shake or move – cellulose forms at the air-liquid interface
    • Incubate at room temperature (20-30°C is ideal)
    • Cover loosely to allow air exchange but prevent contamination

    Expected Results and Timeline

    What to Look For:
    • Days 1-3: Solution may become slightly cloudy
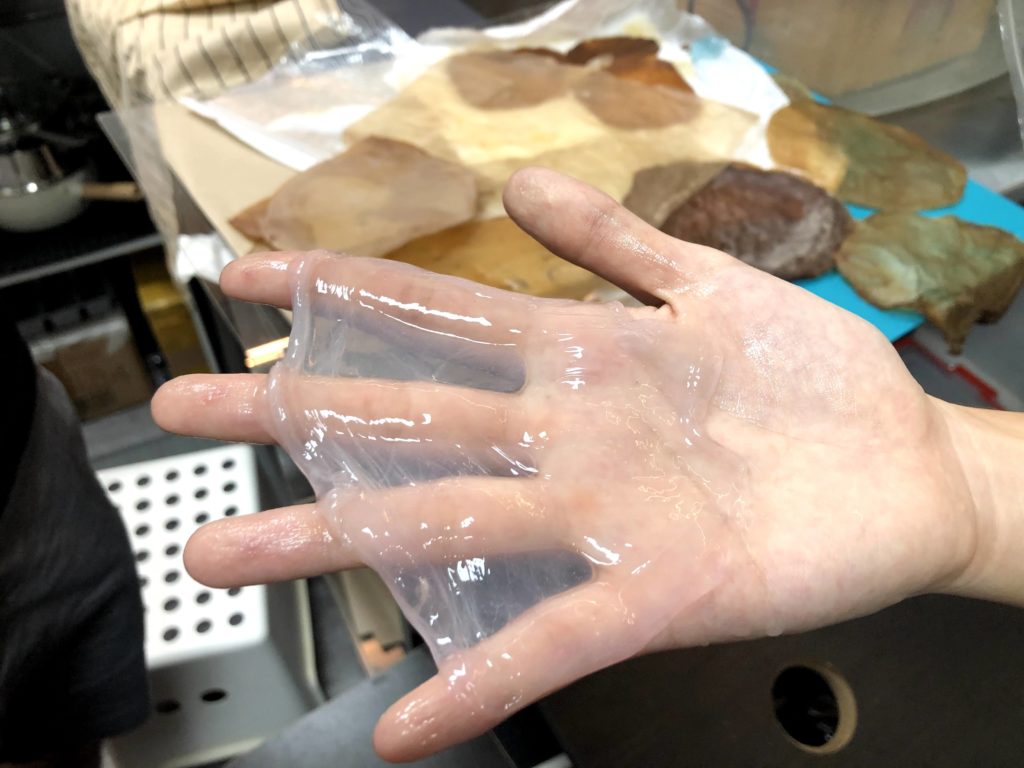
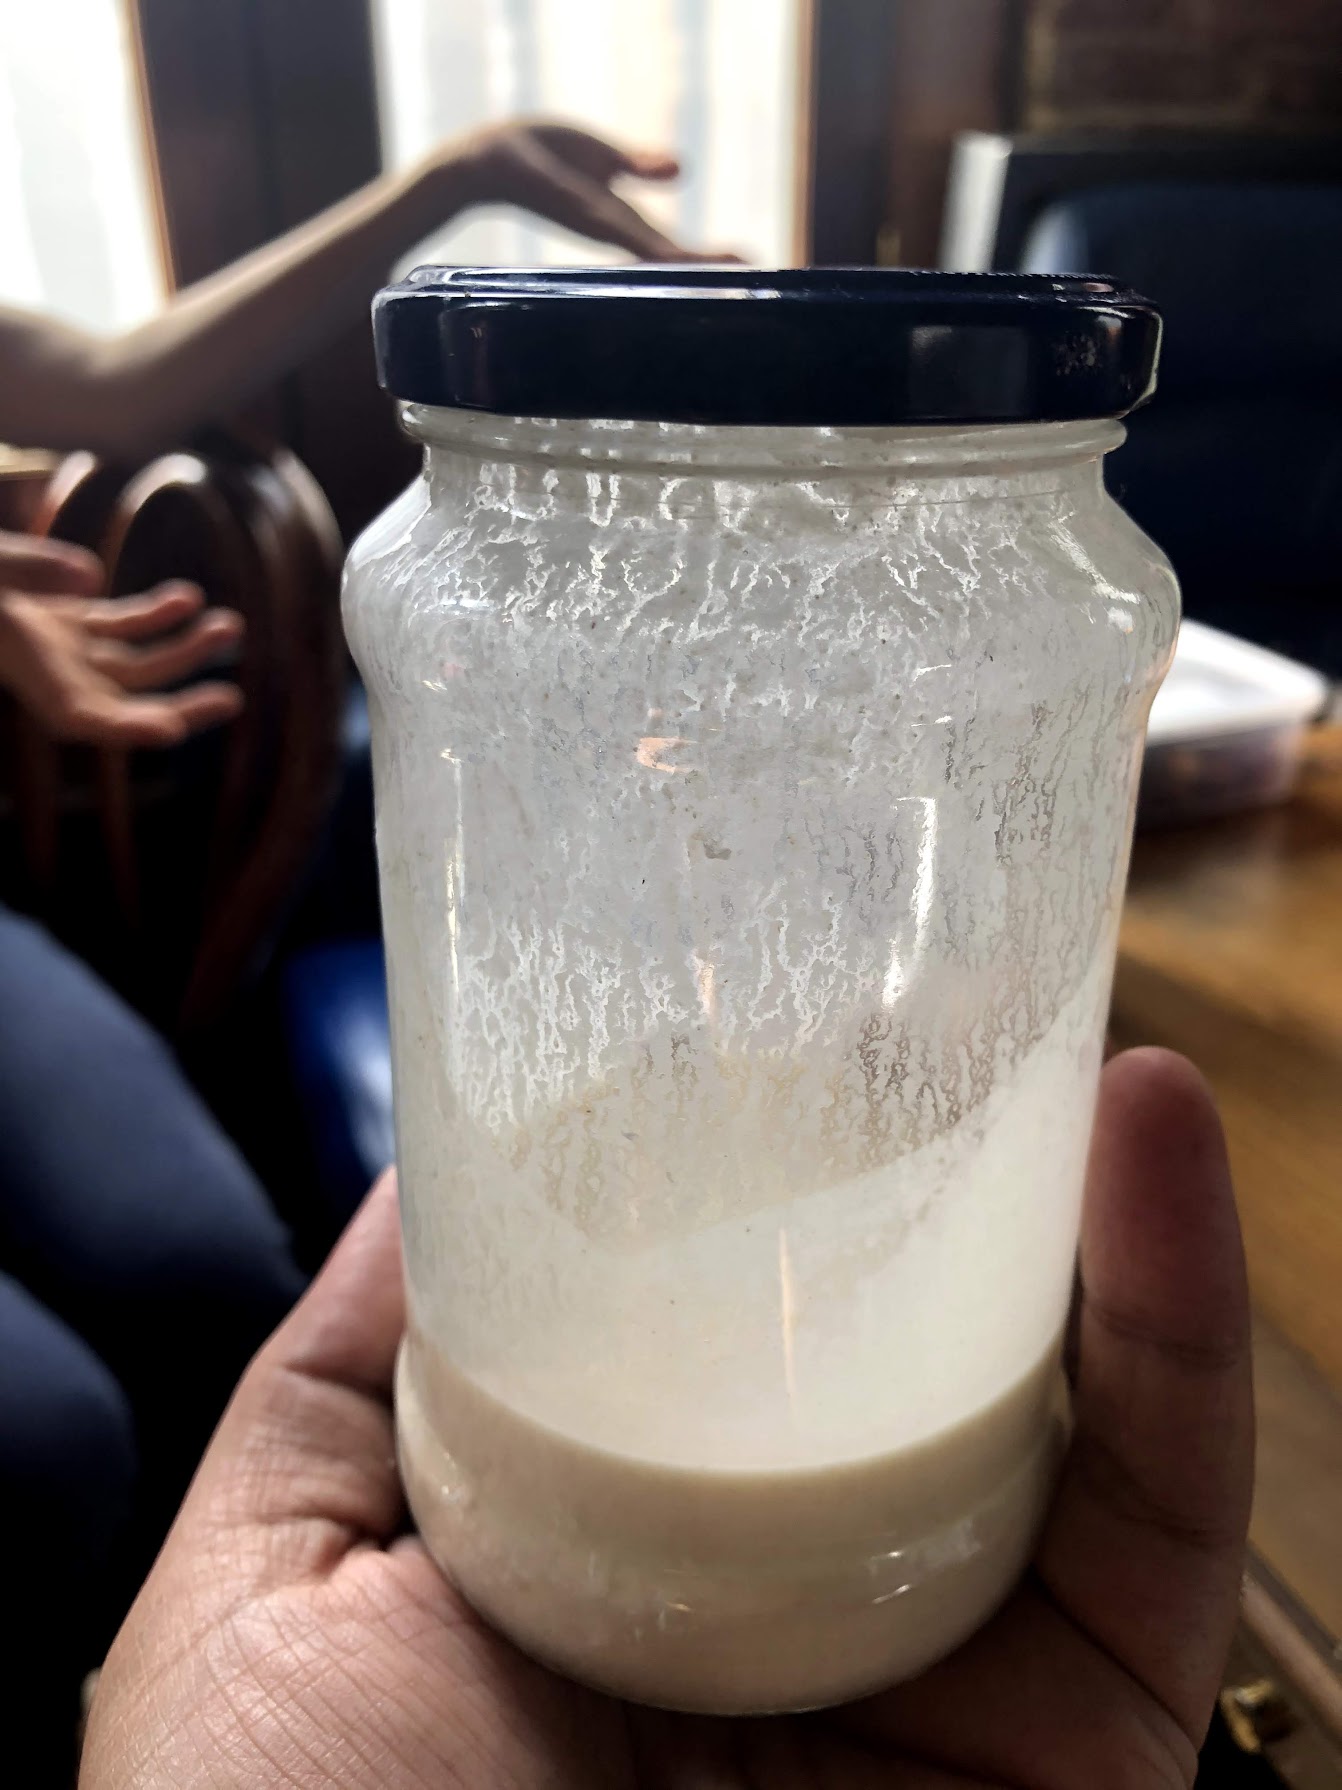
    • Days 3-7: Thin film may start forming at surface
    • Days 7-14: Thick, white, rubbery pellicle develops (this is your bacterial cellulose!)
    • Full maturation: 2-4 weeks for thick, harvestable cellulose

    Troubleshooting:
    • No pellicle formation: Check pH, temperature, and ensure static conditions
    • Contamination (fuzzy growth): Restart with better sterilization
    • Thin pellicle: May need longer incubation time or fresh inoculum

    Pro Tips for Success
    1. Static is essential – Any movement disrupts cellulose formation
    2. pH monitoring – Slightly acidic conditions favor cellulose production
    3. Fresh inoculum – Use actively growing Acetobacter culture for best results
    4. Temperature stability – Avoid temperature fluctuations
    5. Patience – Good cellulose takes time to develop

    Safety Notes
    • Always use proper sterile technique when handling bacterial cultures
    • Wear gloves when handling chemicals, especially disodium phosphate
    • Ensure adequate ventilation when working with acetic acid bacteria
    • Dispose of cultures properly according to local regulations

    Harvesting Bacterial Cellulose
    When ready to harvest (usually 1-4 weeks):
    1. Carefully lift the pellicle from the surface
    2. Rinse thoroughly with distilled water
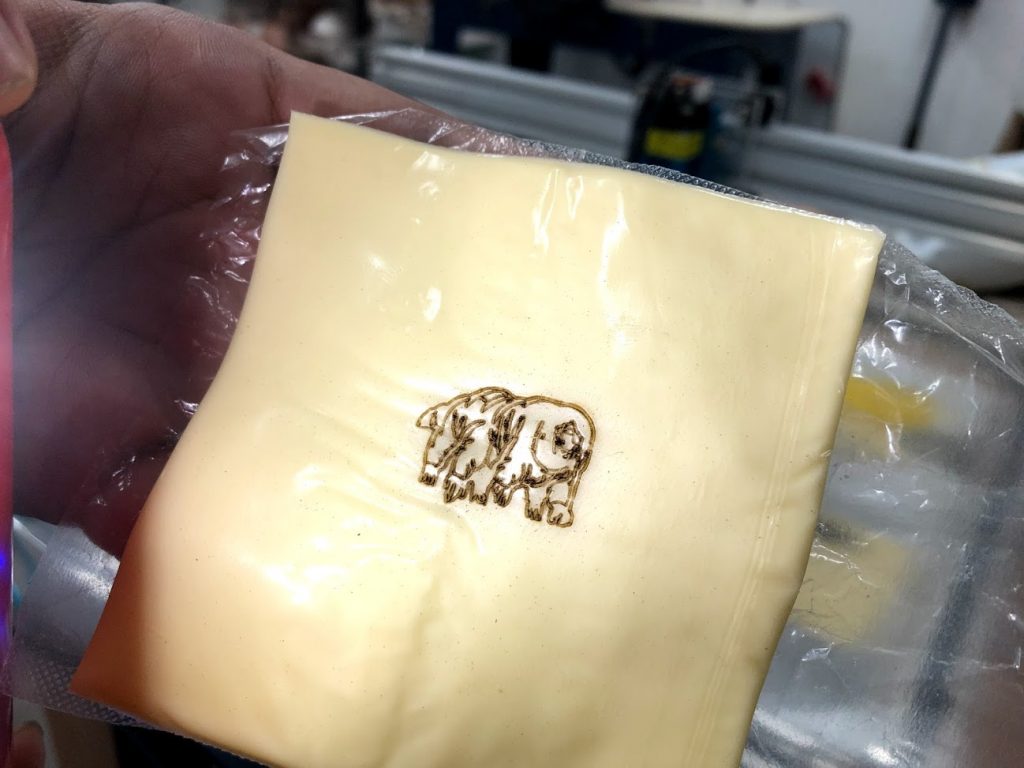
    3. Can be processed further or stored in water in refrigerator
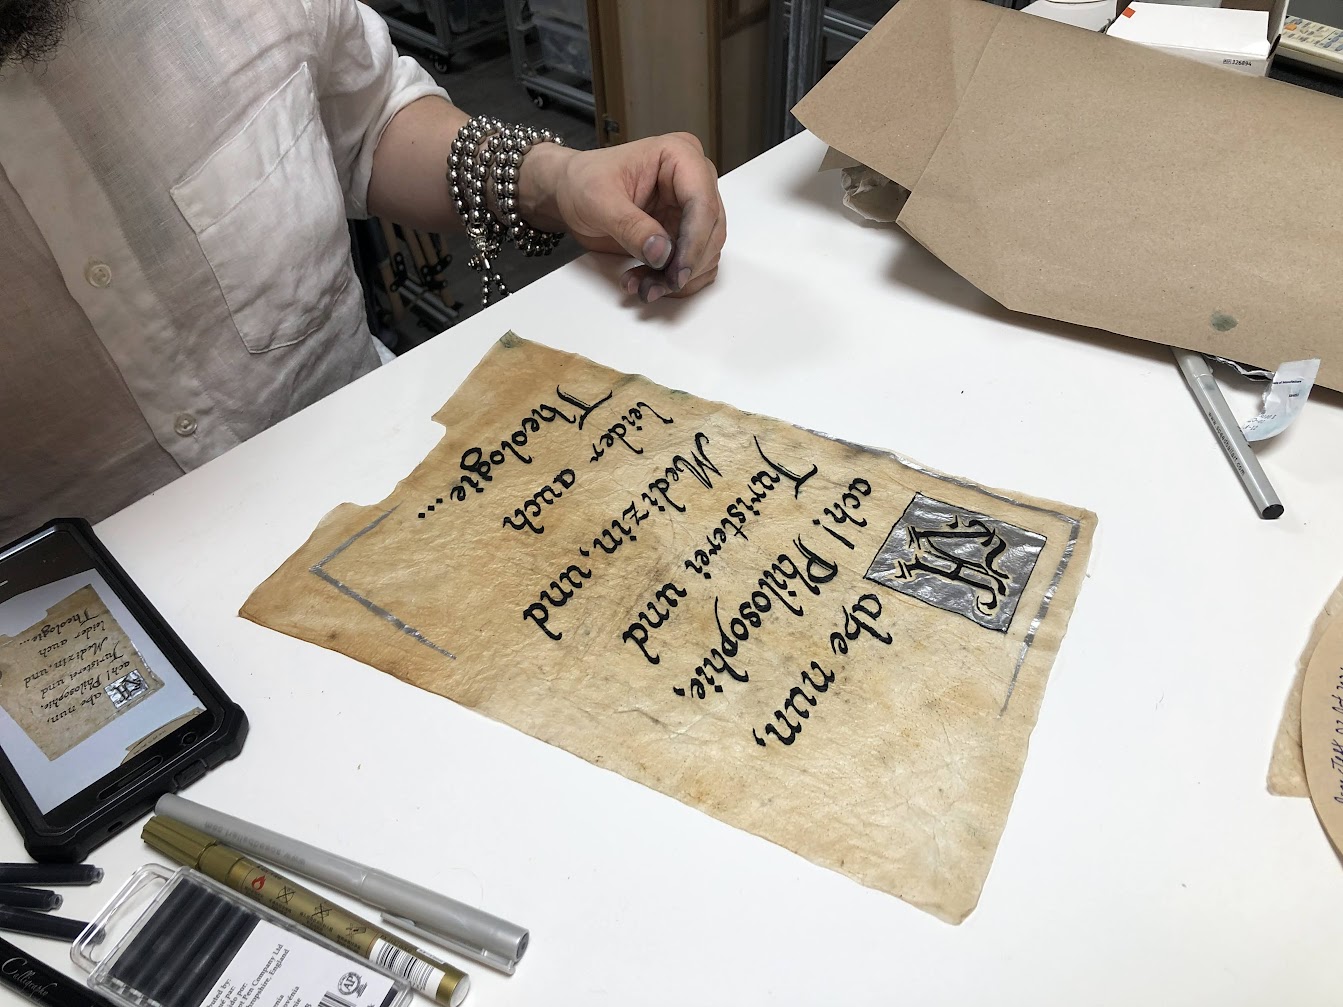
    4. The cellulose pellicle is food-safe and can be used in various applications

    This recipe produces the classic Hestrin-Schramm medium used worldwide for bacterial cellulose research and production. The medium provides optimal nutrition for Acetobacter species and related cellulose-producing bacteria.

  • ReCreate: PET bottles to 3D printer Filament

    ReCreate: PET bottles to 3D printer Filament

    The Recreator DIY recycling machine is the perfect project for makerspaces looking to encourage community involvement in addressing plastic waste. This innovative machine can be built by anyone with basic DIY skills and can be used to recycle a wide range of plastic materials, including bottles, containers, and packaging.

    The Recreator is a simple, yet highly effective machine that can turn plastic waste into usable material. It works by taking in strips of PET, which are then heated and molded into 3D printer filament. The resulting material can be used to 3D print a wide range of items, from simple household objects to more complex projects like furniture and even building materials.

    One of the best things about the Recreator is that it is an affordable and accessible solution for communities looking to reduce their plastic waste. It can be built using inexpensive and readily available materials, and the process is easy enough for anyone to learn. This makes it an ideal project for makerspaces, schools, and community centers looking to engage their members in the fight against plastic pollution.

    In addition to its environmental benefits, the Recreator can also be a great tool for promoting creativity and teamwork. Building and operating the machine can be a fun and rewarding experience for people of all ages, and the end result is a tangible, useful product that can be enjoyed by the entire community.

    Overall, the Recreator DIY recycling machine is a fantastic project for makerspaces looking to make a positive impact on the environment while fostering creativity and community involvement. It is easy to build, fun to use, and can help to reduce the amount of plastic waste in our communities.

    work in progress partially assembled 3D printed parts for recreator
    Using Ender3 parts to re-create the Recreator3D

  • ChatGPT makes 3D sculpture of sadness

    ChatGPT makes 3D sculpture of sadness

    This will create a basic shape of a head with a sad expression. The head is created using a cylinder and a subtraction of another cylinder to create the depression in the forehead and around the eyes, which typically associated with a sad expression. The eyes are created using small cylinders and positioned in a sad position, and the mouth is created using a linear extrude of a polygon with a sad shape. You can adjust the dimensions, positioning, and shapes of the head and facial features to suit your needs and create your desired expression.

    openscad code
    3d rendering of openscad code showing abstract AI representation of "sadness"
    // Define the parameters for the head
    $head_radius = 40;
    $head_height = 60;
    $eye_radius = 5;
    
    // Create the head
    translate([0,0,0]) {
      difference() {
        cylinder(h=$head_height, r=$head_radius, $fn=100);
        translate([-20,-20,$head_height/4]) {
          cylinder(h=$head_height/2, r=$head_radius-10, $fn=100);
        }
      }
      // Create the eyes
      translate([-25,-30,$head_height/2]) {
        cylinder(h=$eye_radius, r=$eye_radius, $fn=100);
      }
      translate([-15,-30,$head_height/2]) {
        cylinder(h=$eye_radius, r=$eye_radius, $fn=100);
      }
      // Create the mouth
      translate([-20,-40,$head_height/4]) {
        linear_extrude(height = 5) {
            polygon(points = [[-10,-10], [-5,0], [0,-10], [5,0], [10,-10]]);
        }
      }
    }
    
  • Caffeinator – DIY Cold Drip Coffee Machine

    Caffeinator – DIY Cold Drip Coffee Machine

    Made from clothes-hangers, used PET bottles, aquarium hardware and other bits and bobs found in response to a caffeine fuelled 3AM bout of inspiration. The Caffeinator uses cold-water dripping on coffee grounds with the slow-infusion process to extract nearly twice as much caffeine from the coffee as other hot-water methods.

    It makes the thing that makes conversation happen. Now you can make the thing that makes the thing that makes conversation happen.

  • Tardigrade FieldTrip Friday

    Tardigrade FieldTrip Friday

    Pulau Ubin Island in Singapore is known for its rustic island-off-the-island charm, biking, hiking, and little seafood places but it also contains a rich biodiversity and diverse habitats, making it a popular destination for citizen scientists and casual researchers looking to study and explore the natural world. Recently, a group of young scientists and researchers had the opportunity to visit the island on a field trip led by 40-year-old Saad, a self-proclaimed “geek” with a passion for all things science.

    Saad, who has spent many years working in the tech industry, has always had a love for science and exploration. When he heard about the opportunity to lead a field trip to Pulau Ubin, he jumped at the chance to share his knowledge and enthusiasm with a new generation of scientists.

    As the group traveled around the island, Saad led them on a hunt for tardigrades, small aquatic creatures also known as “water bears” that are known for their ability to withstand extreme conditions. The group searched for tardigrades in a variety of habitats and water sources, using various DIY scientific tools and techniques to collect and study their samples.

    Throughout the trip, the young scientists and researchers discussed the significance of tardigrades and the role they play in the ecosystem. The group shared knowledge and experience, asking questions and thinking critically about their observations.

    In the end, no tardigrades were directly observed however the field trip was a fun one, with the group discovering a wide variety of microscopic creatures in different habitats and water sources. For Saad, it was a chance to share his love of science with others and to be inspired by them to explore and discover the microscopic natural world around us.

  • PUMA Microscope

    PUMA Microscope

    3D Printed, RaspberryPi powered, OpenSource all the way!

    The PUMA microscope is a revolutionary piece of scientific equipment that is poised to change the way we think about accessibility and affordability in the field of microscopy. At its core, the PUMA (which stands for “Printed Ultra-Microscope”) is a high-resolution, 3D-printed microscope that is designed to be assembled from low-cost components and open-source plans.

    One of the most innovative aspects of the PUMA microscope is its use of 3D printing technology. By leveraging the power of 3D printing, the designers of the PUMA microscope were able to create a microscope that is both highly accurate and extremely affordable. The 3D-printed design allows for the creation of custom, high-precision parts that are otherwise difficult or impossible to manufacture using traditional methods.

    But the benefits of the PUMA microscope go far beyond just its low cost and innovative design. The open-source nature of the project means that anyone, anywhere in the world, can access the plans and instructions needed to build their own PUMA microscope. This level of accessibility is truly game-changing, as it means that scientists and researchers in underfunded or resource-poor areas can now have access to the same level of equipment as their counterparts in more developed regions.

    The potential impact of the PUMA microscope is truly staggering. By making high-quality microscopy more accessible and affordable, the PUMA microscope has the potential to democratize science and research, and to open up new avenues of exploration and discovery for scientists around the world. Whether you are a seasoned researcher or a student just starting out in the field, the PUMA microscope is a tool that you simply cannot afford to overlook.

    In conclusion, the PUMA microscope is a truly innovative and exciting project that has the potential to change the way we think about accessibility and affordability in the field of microscopy. Whether you are a scientist, researcher, or simply someone who is interested in the world of science, the PUMA microscope is a project that is well worth keeping an eye on.

  • CentriDrive HDD Centrifuge

    CentriDrive HDD Centrifuge

    Repurpose high RPM server Hard Disk Drives into functional lab equipment

    Ingredients to make one:

    • Plastic enclosure: repurpose a similar sized mass produced container like a lunch-box
    • 3D Printed Bowden Tube holder STL merged with a coupler you can customize to fit the drive you have on hand using the OpenSCAD file
    • Electronic Speed Controller (ESC) module: repurposed from a broken drone, commonly available module for drone motors
    • Arduino nano or similar microcontroller with a potentiometer to control RPM
    • Optional: LCD display to show estimated RPM
    • Optional: Infrared sensor to count and display accurate RPM
    • USB power supply for the microcontroller, DC power supply for the servo. Be sure to use a common (-) negative if using two power sources.
    • Follow wiring diagram from the source:
      https://journals.plos.org/plosone/article/figure?id=10.1371/journal.pone.0259886.g001

    https://journals.plos.org/plosone/article/figure?id=10.1371/journal.pone.0259886.g001

    See Also: Lab-in-a-backpack

    Contact us if you’d like to collaborate and build this into a workable solution for a meaningful context.

  • SCOBY Parchment

    SCOBY Parchment

    Taking the SCOBY vegan leather idea to an extremely delicate level with making them (literally) paper-thin. It’s a delicate and time consuming process but the material is so much fun to work with! Transparent, breathable, extremely light, and yet surprisingly durable for its thickness (or lack thereof).

    The dehydrated scoby lay before me, a barren wasteland of cracked and crumbled organic matter. Yet, as I examined its gnarled surface more closely, I began to see the potential for something greater.

    Gently, I ran my fingers over the rough texture, feeling the bumps and grooves that spoke to the natural origins of this unusual material. It was rough and slightly spongy to the touch, with a unique, earthy aroma that hinted at its past life as a living organism.

    But as I continued to explore the scoby, I couldn’t help but be struck by its innovative nature. For here was a material that was not only vegan and environmentally friendly, but also remarkably versatile.

    With the right techniques, this dehydrated scoby could be transformed into a sleek, supple vegan leather, suitable for use in everything from fashion accessories to furniture upholstery. Its unique aesthetic and physical properties made it the perfect choice for artists and designers looking to push the boundaries of traditional materials and create something truly original.

    As I continued to marvel at the possibilities of this remarkable substance, I couldn’t help but feel a sense of excitement and possibility. For in the hands of a skilled craftsman, this dehydrated scoby could become a canvas for artistic expression, a testament to the power of innovation and sustainability.

  • Kitchen made DIY BioPlastic: Rice Starch

    Kitchen made DIY BioPlastic: Rice Starch

    Fight the single-use plastic scourge! We feel the making of disposable plates and cutlery should be part of the food-prep for potluck parties and picnics. It’s simple enough, super good for the environment, and sciencey enough to get deliciously nerdy about it all.
    Surely one person in the friend circle can cook up some utensils, literally?

    Test sample of home-cooked bioplastic placed on a drinking glass
    Water resistant yet entirely biodegradable
  • Kombucha SCOBY Vegan Leather

    Kombucha SCOBY Vegan Leather

    Dehydrating various thicknesses of SCOBYs to explore material properties. Further exploring colours, textures, and water-resistant treatment options to augment intrinsic material properties for artistic and practical use cases.

    So many SCOBYs to work with!

    The use of a dehydrated scoby, or Symbiotic Culture of Bacteria and Yeast, to make vegan leather is a innovative approach to creating a sustainable and animal-free alternative to traditional leather. The scoby, which is commonly used in the production of fermented foods such as kombucha, is composed of a complex network of bacteria and yeast cells. When dehydrated and treated with a variety of chemicals and processes, the scoby can be transformed into a flexible and durable material with a leather-like appearance.

    One of the key advantages of using a scoby to create vegan leather is its sustainability. The production of traditional leather requires the processing of animal hides, which can be resource-intensive and contribute to environmental degradation. In contrast, scobies are easily cultivated and can be grown on a wide range of substrates, including agricultural waste and renewable energy sources. This makes the production of scoby-based vegan leather a more environmentally-friendly alternative to traditional leather.

    In addition to its sustainability, scoby-based vegan leather also has a number of aesthetic and physical properties that make it suitable for use in a variety of artistic and commercial applications. The material is highly resistant to water and UV light, making it suitable for use in outdoor applications. It is also easy to dye and can be embossed or printed on to create a range of textures and patterns.

    Overall, the use of dehydrated scoby to create vegan leather is a highly innovative approach that offers a sustainable and animal-free alternative to traditional leather. Its unique aesthetic and physical properties make it suitable for use in a wide range of artistic and commercial applications, and its sustainability makes it an attractive option for those looking to reduce their environmental impact.

    SCOBY clear
    Dehydrated SCOBY forms the basis of leathery yet translucent vegan material
  • Precision Toasting: Laser etched edibles

    Precision Toasting: Laser etched edibles

    Using visible lasers to etch into edible materials to selectively caramelise areas that darken to imprint images and illustrations without the use of dyes or inks of any kind. Precision toasting.

    The use of blue laser technology to etch patterns and images onto edible materials through selective caramelization is a highly innovative and creative approach to food science. By using laser technology to selectively caramelize specific areas of an edible material, it is possible to create intricate patterns and designs without the need for dyes or other artificial colorants. This not only offers a more natural and healthy alternative to traditional food coloring techniques, but also opens up a range of new possibilities for experimentation with flavor, texture, and aesthetics.

    One of the key benefits of using blue laser technology to etch patterns onto edible materials is its high level of precision and control. The laser beam can be focused and directed with great accuracy, allowing for the creation of intricate and detailed designs. This makes it possible to create a wide range of patterns and images on a variety of edible materials, including bread, cookies, and chocolate.

    In addition to its precision, the use of blue laser technology also offers a number of other benefits for food science experimentation. By selectively caramelizing specific areas of an edible material, it is possible to create a range of flavors and textures. For example, the caramelization process can be used to create a crunchy or crispy texture, or to enhance the sweetness or complexity of a food’s flavor. This offers a range of possibilities for experimentation with new and unique flavors and textures.

    Overall, the use of blue laser technology to etch patterns and images onto edible materials through selective caramelization is a highly innovative and creative approach that offers a range of possibilities for food science experimentation. By eliminating the need for dyes and offering a range of possibilities for flavor, texture, and aesthetics, this approach has the potential to revolutionize the way we think about food and food presentation.

    illustration of a tardigrade laser etched onto a slice of cheese
    Cheesy Tardigrade
    laser etched edible rice-paper with the words "Edible Makerspace"
    laser etched edible tags
  • Starting with Starter

    Starting with Starter

    We’ve created a Facebook page and that means we officially exist, this is getting real. While the difficult search for a shared space in Singapore continues, thank goodness for the HackerspaceSG. We’re starting our series of workshops with sourdough starter. Come join us as we learn to make starter culture in a space that’s kind of about starter-culture.

    https://www.facebook.com/events/624901258051143/

    We’ll try and do a bit of baking, make new starter and share active culture. If the bread rises and bakes as we hope, we need constructive feed-back.

    This one will feature home-grown starters “Jeff” and “Mr Stevens”, along with a German friend.

  • OpenFlexure Microscope

    OpenFlexure Microscope

    3D Printed, RaspberryPi powered, OpenSource all the way.

    The OpenFlexure microscope is an innovative and exciting project that utilizes flexures, 3D printing, and low cost components to create a highly accessible and affordable microscope. This microscope has the potential to revolutionize the way that scientists and educators access and use microscopes, particularly in developing countries and communities that may not have the resources to purchase expensive equipment.

    One of the key features of the OpenFlexure microscope is its use of flexures. Flexures are small, flexible elements that are used to create precise movements and adjust the focus of the microscope. These flexures allow the microscope to be highly precise and accurate, while also being extremely affordable and easy to maintain.

    Another important aspect of the OpenFlexure microscope is its reliance on 3D printing technology. The microscope can be easily assembled using 3D printed parts, which allows for quick and easy customization and maintenance. This also means that the microscope can be easily replicated and shared with others, making it an ideal tool for open science communities like AfricaOSH and GOSH.

    The OpenFlexure microscope also utilizes a Raspberry Pi, which is a small, low cost computer that can be used to control and program the microscope. This allows users to easily customize and program the microscope to suit their needs, and opens up a world of possibilities for experimentation and exploration.

    One of the most exciting aspects of the OpenFlexure microscope is its low cost and highly accessible nature. This microscope has the potential to revolutionize the way that scientists and educators access and use microscopes, particularly in developing countries and communities that may not have the resources to purchase expensive equipment. This collaborative project, with a strong connection between Africa and Europe, has the potential to democratize science and bring new discoveries and innovations to communities that may not have otherwise had access.

    However, it is important to also consider the potential limitations of the OpenFlexure microscope. While it is an exciting and innovative project, it is important to question the optimism for its open source nature and the science it enables for those who may not have access to traditional microscopes. It is also important to consider the potential limitations of 3D printing and low cost components, and whether these may affect the accuracy and precision of the microscope.

    Overall, the OpenFlexure microscope is a highly innovative and exciting project that has the potential to revolutionize the way that scientists and educators access and use microscopes. Its low cost, highly accessible nature and strong connection to open science communities make it an ideal tool for democratizing science and bringing new discoveries and innovations to underserved communities.

    openFlexure 3d printed microscope showing resolution with a large display screen and measuring tape
    openFlexure 3d printed microscope showing resolution and magnification